Discover the Art of Decoupage
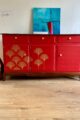
I’ve made many pieces of furniture using the decoupage technique over the years, and I get asked about it quite often. So, I decided to put together an interesting article for anyone curious about this charming and accessible craft. If you’ve ever wondered what decoupage is or how it’s done, keep reading!
What Is Decoupage?
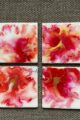
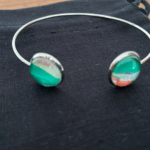
The word decoupage comes from the French word découper, meaning “to cut out.” It refers to the decorative art of gluing paper cutouts onto objects, then sealing them with layers of varnish or special glue to create a smooth, painted-on appearance. Decoupage can be done on furniture, boxes, vases, frames, candles, and even fabric.
A Brief History of Decoupage
Decoupage has been around for centuries, with roots tracing back to East Asia. It gained popularity in Europe during the 17th and 18th centuries, especially in France and Italy, where artists used it to mimic expensive lacquer work. Over time, it became a beloved folk art and is now a staple in the world of modern crafts.
What You’ll Need to Get Started
One of the best things about decoupage is that it doesn’t require expensive tools or materials. Here’s what you’ll need:
- An object to decorate (wood, glass, cardboard, ceramic, etc.)
- Paper cutouts (napkins, magazine pages, scrapbook paper, etc.)
- Decoupage glue or a mixture of white glue and water
- Scissors
- Soft paintbrush or sponge
- Acrylic varnish or sealant (optional)
Step-by-Step: How to Decoupage
1. Prepare Your Surface
Make sure your chosen object is clean and dry. If it’s porous (like wood), you may want to sand and prime it lightly for a smoother finish.
2. Choose and Cut Your Design
Select the images or patterns you want to use. Cut them out carefully some crafters prefer tearing the edges for a more organic look.
3. Apply the Glue
Brush a thin layer of decoupage glue onto the back of the paper cutout and place it onto the surface. Then gently press and smooth out any air bubbles using your fingers or a soft cloth.
4. Seal the Design
Once all pieces are glued down and dry, apply a layer of glue over the entire surface to seal it. Let it dry completely. For a durable, glossy finish, apply 2–3 additional layers, allowing each to dry before adding the next.
Tips for Best Results
- Use thin paper: Thinner paper blends more easily with the background and avoids wrinkles.
- Work in small sections: This prevents the glue from drying too fast.
- Experiment: Mix and match different textures and styles to create your own unique design.
What Makes Decoupage So Special?
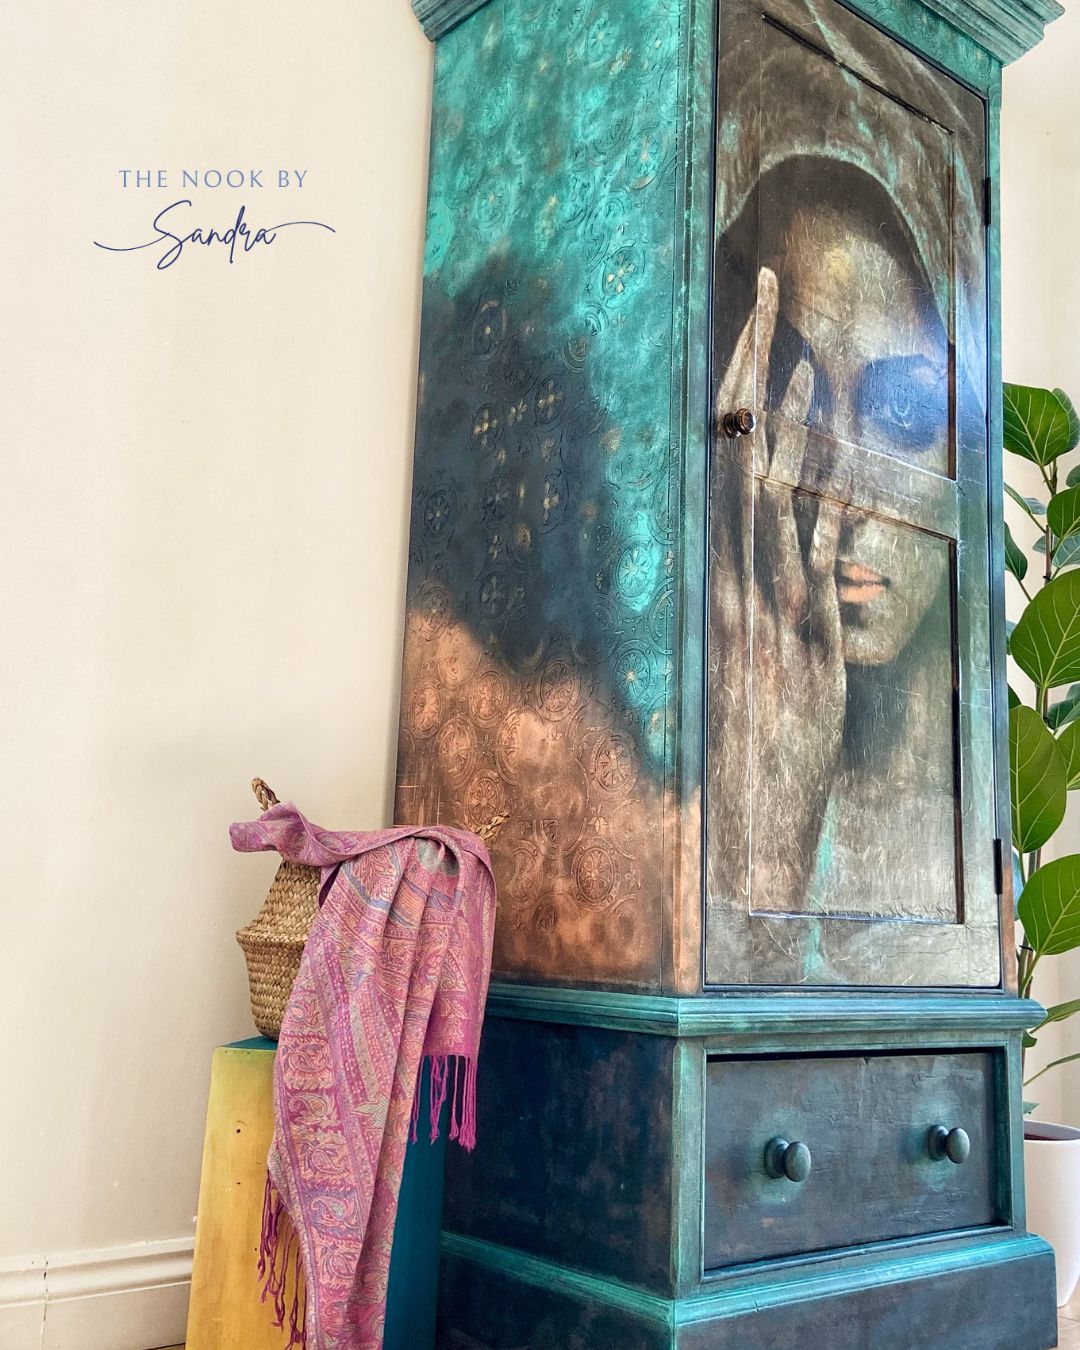
Decoupage isn’t just a craft—it’s a creative journey that brings both calm and satisfaction. It lets you breathe new life into old or plain objects by turning them into unique, personalized treasures. Whether you’re crafting a meaningful gift or giving your home décor a stylish makeover, decoupage adds a touch of charm and individuality to everything you create.